Speakeasy docs
Generate the presenter, then personalize in AI Studio.
Speakeasy is the generated-presenter path. Use it to create the base video and voice, then import that result into AI Studio when you need variables, campaigns, dynamic backgrounds, GIFs, or API automation.
Workflow
Speakeasy before AI Studio.
01
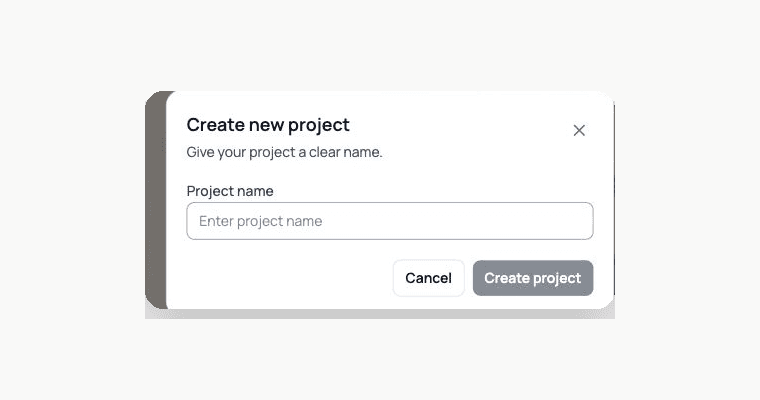
Create a project
Start a Speakeasy project with a clear internal name so the finished render is easy to find later.
02
Define the presenter and voice
Use the presenter description, script, and voice direction to create the generated video.
03
Render the video
Wait for the Speakeasy render to complete. A few minutes is normal for generated presenter workflows.
04
Import into AI Studio
Use the personalized-video action from the completed Speakeasy project, then mark variables and campaign data in AI Studio.
Import rules
Keep generation and personalization separate.
Source of truth
Speakeasy creates the presenter video. AI Studio handles per-recipient personalization.
Variables
Do not rely on Speakeasy alone for recipient-level substitutions. Import into AI Studio first.
Voice
If the source video uses a generated voice, test a few variable values for pronunciation before launch.
Campaigns
After import, use CSV, Zapier, Pabbly, Lead Finder, Leadr, or API generation like any other AI Studio template.
Next step
After importing the Speakeasy render into AI Studio, mark the variables and use a campaign or API request to generate personalized videos for recipients.